How to Build an 18th-Century Mechanical Volcano: A Modern Recreation Guide
Introduction
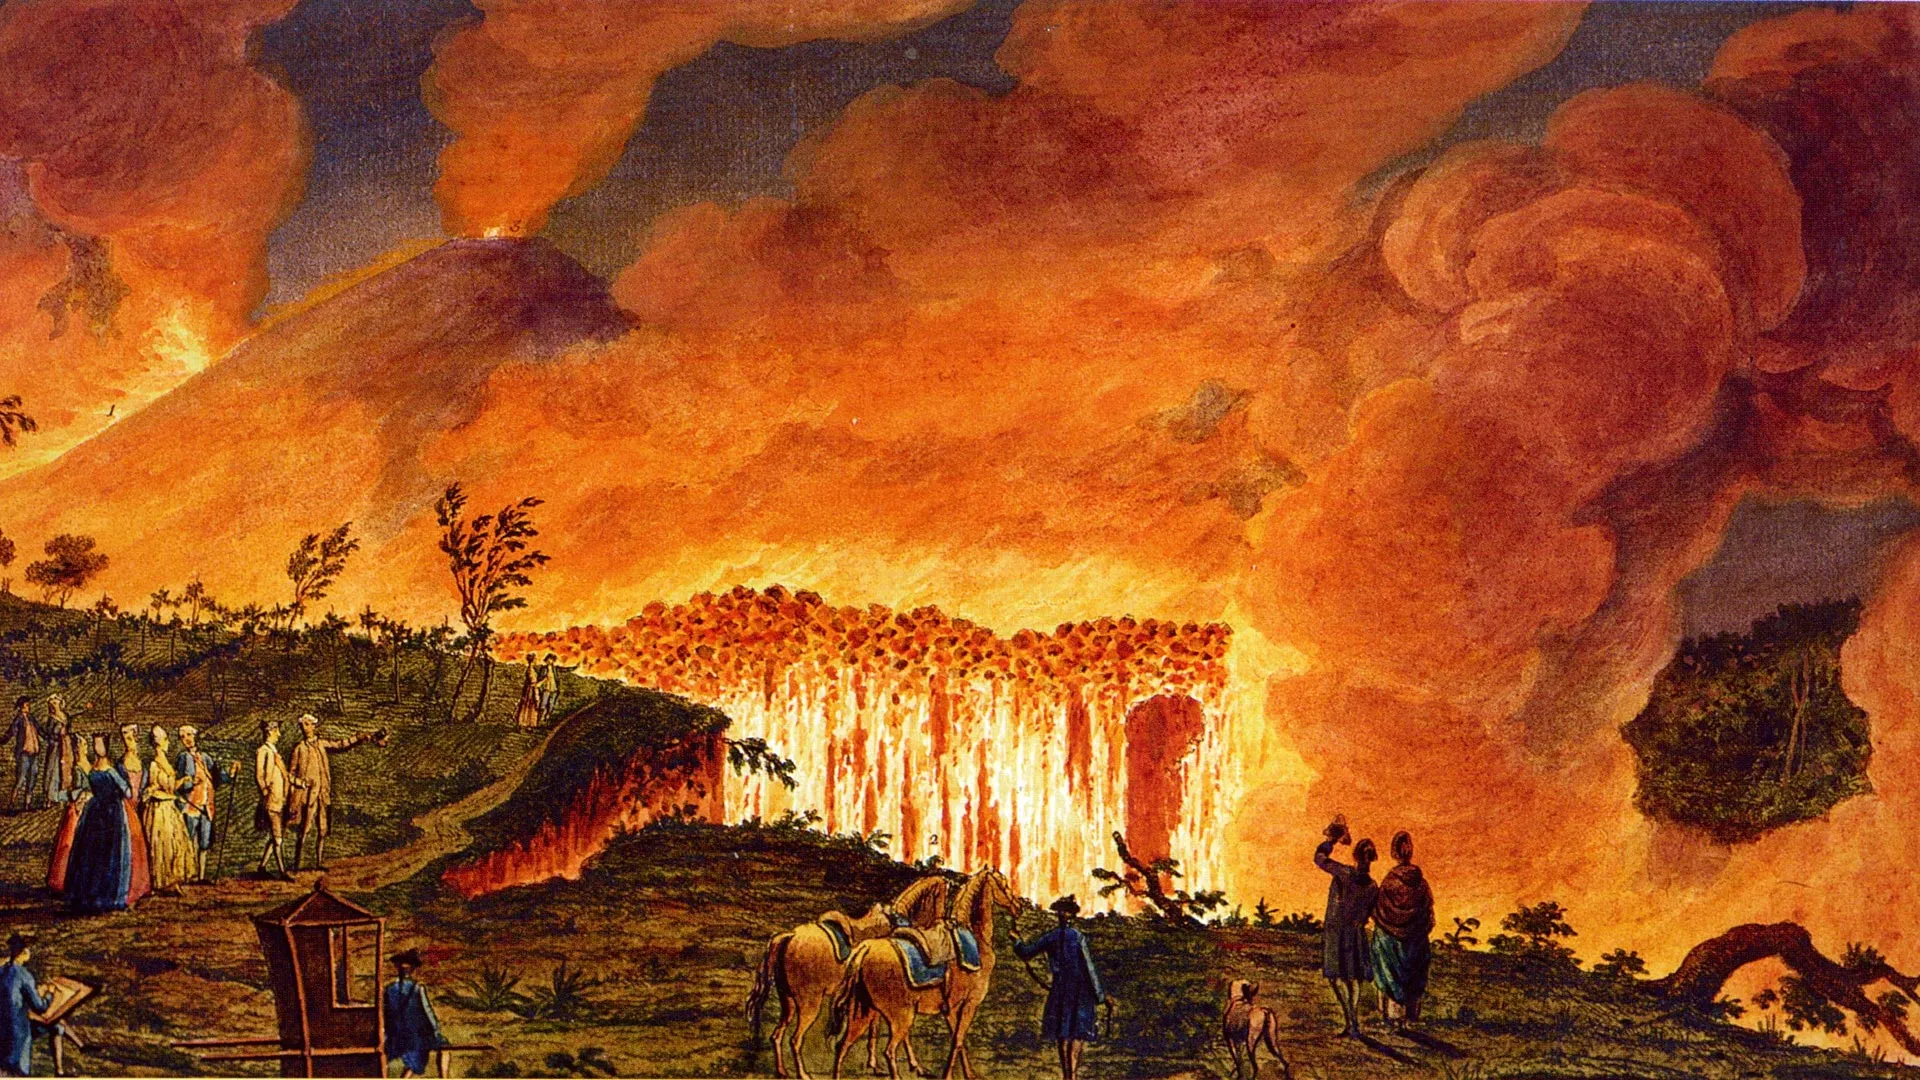
In 1775, Sir William Hamilton, a passionate volcanologist, imagined a mechanical volcano that could simulate the fury of Mount Vesuvius. More than 250 years later, two resourceful engineering students from the University of Melbourne brought that 18th-century vision to life. Using a preserved sketch and an old watercolor as their blueprint, they combined modern LED lighting and electronic control systems to recreate the glowing flows and explosive drama of a real eruption. This guide walks you through their process, showing how you can harness contemporary tools to resurrect a historical marvel.
What You Need
- Reference materials: A detailed 18th-century watercolor or sketch of Sir William Hamilton's mechanical volcano (digital copies are acceptable)
- Base structure: Plywood or MDF sheets (½-inch thickness) for the volcano frame; about 4 ft x 4 ft base
- Volcano shape material: Paper mâché, lightweight clay, or foam insulation spray for forming the mountain
- LED lighting system: Red, orange, and yellow LED strip lights (preferably waterproof) for lava simulation
- Electronic control board: Arduino or Raspberry Pi to manage lighting sequences and eruption timing
- Power supply: 12V adaptor for LEDs; 5V for the control board
- Wiring and connectors: Jumper wires, solder, heat-shrink tubing
- Smoke or mist generator: A small fog machine (optional, but adds realism)
- Tools: Hot glue gun, utility knife, screwdrivers, soldering iron, multimeter
- Paint: Acrylic paints in brown, gray, black, and red for finishing touches
- Safety gear: Gloves, goggles, and a well-ventilated workspace
Step-by-Step Guide
Step 1: Study the Original Design
Examine the 1775 watercolor and sketch carefully. Note how Hamilton depicted the volcano's cone, the path of lava flows, and the central eruption vent. Identify the mechanical elements: a hidden bellows or piston system (likely) that forced red-tinted water upward. While you'll use electronic systems, understanding the original mechanics informs your modern recreation. Make a list of key visual features: glowing fissures, smoke plumes, and cascading lava streams. This step is crucial for authenticity.
Step 2: Gather and Prepare Your Materials
Collect all items listed in the 'What You Need' section. Cut your plywood base to a roughly 4 ft x 4 ft square—this will support the volcano and conceal your electronics. Sand the edges smooth. For the volcano shape, crumple chicken wire into a cone and cover it with paper mâché or spray foam; allow it to dry completely (24–48 hours). Alternatively, sculpt clay over a wire armature. The final shape should rise about 2–3 feet from the base.
Step 3: Construct the Volcano Shell
Attach your dried volcano shape to the plywood base using strong adhesive or screws. Drill channels into the foam or clay for LED strips—these will act as lava flows. Create a main crater at the top, about 4 inches deep, where the eruption will be most intense. Paint the entire structure with acrylics: a dark gray base, with brown and black accents for realism. Add streaks of red paint near the LED channels to simulate glowing rock . Let the paint dry overnight.
Step 4: Install the LED Lighting and Electronic Systems
Thread LED strips through the pre-drilled channels, securing them with hot glue. Connect the strips to your microcontroller (Arduino) using a relay or MOSFETs to handle power. Program the board to create a sequence: a slow pulsing glow for lava, then rapid flashes and brightness increases for eruptions. Use red and yellow LEDs for the main lava, and orange for accent flows. Wire the power supply carefully—solder connections and protect with heat-shrink tubing. Place the electronics inside a waterproof box under the volcano base for safety.
Step 5: Simulate Eruptive Effects
To mimic the explosive drama, integrate a fog machine if available. Position the fog output inside the crater, triggered by the microcontroller to release puffs of smoke during eruptions. For added glow, direct a bright red LED upward from the crater. Adjust programming to synchronize smoke bursts with LED flashes. Without a fog machine, use a small fan to blow dry ice vapor (in a separate container) into the crater—but handle dry ice with care. Test the system multiple times to achieve a natural-looking eruption.
Step 6: Test, Refine, and Display
Run your mechanical volcano through a full cycle: quiet simmer, build-up, eruption, and calm. Observe the lava flow patterns—if they seem unnatural, reposition LEDs or adjust the program timing. Check for any electrical shorts or overheating. Once satisfied, seal all openings and add a protective clear coat to the paint. Place your creation on a sturdy table, and consider adding a background painting of the Bay of Naples to complete the 18th-century atmosphere.
Tips for Success
- Start small: Practice your electronics on a miniature test model before building the full-scale volcano. This saves time and materials.
- Reference Hamilton's original: If you can access high-resolution images of the 1775 watercolor, study the color palette and proportions — they are key to authenticity.
- Use dimmable LEDs: Programmable LED strips (like WS2812B) allow individual color and brightness control, giving you precise lava effects.
- Weatherproofing: If you plan to display the volcano outdoors, seal all electronic components with silicone and use outdoor-rated paints.
- Document your process: Take photos and notes as the University of Melbourne students did — your recreation may inspire future makers.
- Safety first: Always disconnect power when adjusting wiring. Work in a fire-safe area, especially when soldering or using spray foam.
By following these steps, you can bring a piece of 18th-century ingenuity into the 21st century. The mechanical volcano is not only a tribute to Sir William Hamilton's imagination but a testament to how old ideas can erupt anew with modern tools.
Related Articles
- 10 Key Insights on GTA 6's Development and the Future of AAA Gaming Costs
- Textured PEI Plates Emerge as Preferred 3D Printing Build Surface, Experts Confirm Shift in User Preferences
- OpenOSINT Launches: AI-Powered OSINT Agent Automates Security Investigations
- How to Use Coursera’s Gender Gap Data to Drive Women’s Participation in GenAI Skills
- 3D-Printed Potentiometer Kit Makes Electronics Education Hands-On
- AI 'Interviewer' Method Emerges to Tame Complex LLM Tasks, Bypassing Human Writing Woes
- NVIDIA CEO Jensen Huang Tells Carnegie Mellon Graduates: AI Revolution Is Your Career Launchpad
- Decoding OpenAI's Bold Networking Strategy for 131,000 GPUs: Three Surprising Choices That Work